
DIY Beaded Friendship Bracelets for Valentine’s Day

Crafting the Perfect Gift Inspired by Taylor Swift
Valentine's Day is just around the corner, and what better way to celebrate love and friendship than with a thoughtful, handmade gift? Inspired by the fun and whimsical style of Taylor Swift's iconic beaded friendship bracelets, this DIY project is a perfect way to share your creativity while giving your friends or kids something truly special.
These step-by-step instructions will guide you in making beautiful beaded friendship bracelets that perfectly capture the spirit of Valentine's Day. At then end of this post - we share some tips for a Taylor Swift Inspired Friendship Bracelet Valentine’s Day Party!
Why Beaded Friendship Bracelets?
Friendship bracelets have been symbols of connection and appreciation for decades, but Taylor Swift gave them a fresh spin during her Eras Tour, turning them into fun tokens of shared memories and fandom. By creating Valentine's Day-themed versions of these bracelets, you’re not just giving a gift — you’re offering a piece of your creativity and love.Valentine's Day is just around the corner, and there’s no better way to celebrate love and friendship than with a heartfelt, handmade gift! Inspired by the playful and charming style of Taylor Swift's iconic beaded friendship bracelets, this DIY project is a fantastic opportunity to express your creativity while giving your friends something truly unique and special.
No matter your crafting skill level, you'll find these step-by-step instructions to be easy to follow. You'll be making beautiful, Valentine’s Day-themed beaded friendship bracelets that perfectly capture the joy of the season.
So why friendship bracelets? Well, they’ve been symbols of connection and appreciation for decades, but Taylor Swift has given them a fresh, modern twist during her Eras Tour, turning them into delightful tokens of shared moments and fandom. By crafting these colorful bracelets with a Valentine’s Day flair, you're not just giving a gift; you're sharing a piece of your heart and creativity with the people you care about. Get ready to spread some love!
Materials You’ll Need
Before you begin, gather the following supplies:
Beads:
Heart-shaped beads in red, pink, and white
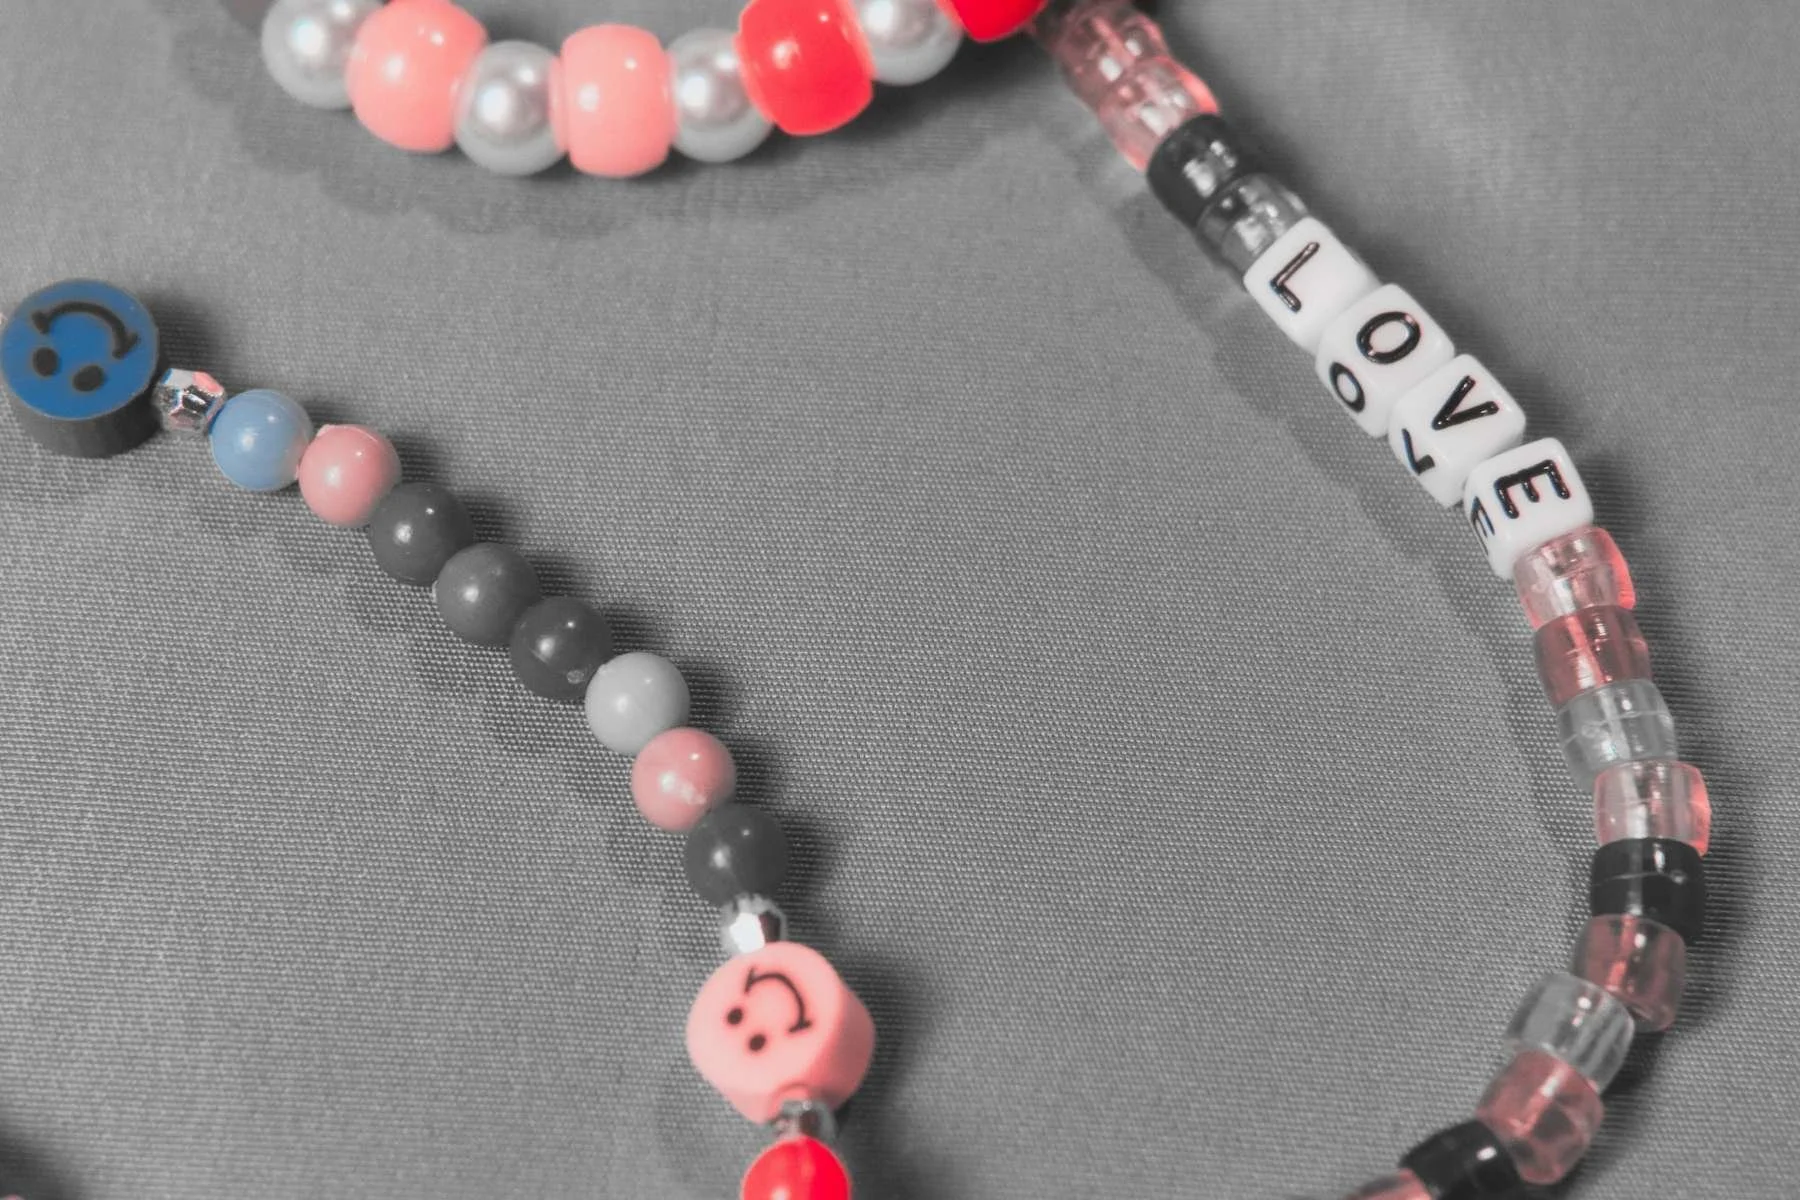
Letter beads (to spell out initials, names, or short messages like "LOVE," "BFF," or even inside jokes)
Assorted small beads (metallic, pastel, rainbow, or sparkly for extra flair)
Elastic Cord: Stretch cord works best for easy fitting and comfort.
Scissors: Sharp scissors to cut the cord cleanly.
Clasp (optional): For a polished, non-adjustable bracelet.
Needle (optional): Helpful for threading small beads.
Bead Stopper (optional): Keeps beads from sliding off the cord while you work.
Step-by-Step Instructions
1. Plan Your Design
The first step is to get creative!
Choose a Color Scheme: Reds, pinks, purples, and whites are classic Valentine’s Day colors, but don’t be afraid to add metallics or glitter beads for extra charm.
Decide on a Pattern: Whether it’s alternating heart and spacer beads, spelling out messages with letter beads, or creating a random mix, let your style shine through.
Sketch It Out: If you’re unsure about your design, lay out the beads on a flat surface or draw your idea on paper.
2. Measure Your Wrist
Ensure the bracelet fits perfectly:
Wrap a piece of string or measuring tape around your wrist for an accurate length. Leave a little extra room for tying or adding a clasp.
Typical bracelet lengths range from 6.5 to 7.5 inches, but always customize based on wrist size.
3. Cut the Elastic Cord
Cut about 12 inches of elastic cord for each bracelet. The extra length makes tying easier and gives room for adjustments.
4. Thread the Beads
This is where the magic happens:
Start with a Message: If using letter beads, spell out your chosen word or initials first. Popular options for Valentine’s Day include “LOVE,” “XOXO,” “BFF,” or your friends’ names.
Add Decorative Beads: Thread heart-shaped beads, sparkly accents, or colorful spacers around the letter beads to create a cohesive look.
Bead Stopper Tip: Use a bead stopper or tie a temporary knot at one end to keep beads from sliding off while you work.
5. Check the Fit
Once your beads are threaded, wrap the bracelet around your wrist to ensure it fits comfortably. Adjust by adding or removing beads as needed.
6. Tie the Bracelet
Secure your bracelet by tying a strong knot:
Use a square knot (left over right, then right over left) to keep it secure.
For extra hold, dab a tiny bit of clear nail polish or glue on the knot.
Trim any excess cord, leaving a small tail to prevent unraveling.
7. Optional – Add a Clasp
If you prefer a more polished look, attach a clasp instead of tying the elastic:
Use jump rings to connect the cord ends.
Attach a lobster clasp for easy closure.
Expanded Creative Personalization Ideas
1. Add Multiple Strands
Consider a multi-strand design if you want to create bracelets that make a more significant statement. Instead of a single strand, craft multiple cords, each with a unique pattern or theme.
Color Coordination: Choose a consistent color palette for a cohesive look or mix complementary colors for a bold and vibrant vibe.
Varied Textures: Use different bead materials like wooden beads, glass beads, metallic beads, or even fabric-wrapped beads for added texture and dimension.
Layering Techniques: Experiment with varying strand lengths to give the bracelet a cascading, layered effect. You can add a more prominent focal bead to make one strand stand out.
How to Combine: Tie the strands together with a decorative knot or attach them to a multi-loop clasp for a polished finish.
2. Incorporate Charms
Charms can transform a simple bracelet into a cherished keepsake rich with personal meaning and storytelling.
Choose Themed Charms: Hearts, arrows, or cupid designs are perfect for Valentine's Day, while keys symbolize unlocking friendship or love. You can also use charms representing your friends’ interests or hobbies.
Dangle Placement: For a delicate touch, add a charm at the center of the bracelet as a focal point or attach smaller charms evenly around the design.
Mix Metals: Incorporate charms in silver, gold, or rose gold to match your beads and create a modern, chic look.
DIY Charms: Feeling extra creative? Use polymer clay to craft custom charms like initials, tiny flowers, or even mini versions of Taylor Swift’s Eras Tour symbols.
3. Make a Friendship Set
Turn your bracelet-making into a full-fledged bonding activity by creating a friendship set:
Matching Bracelets: Design identical bracelets to symbolize unity, adding unique charms or bead patterns to represent each person’s personality.
Themed Sets: Create bracelets inspired by shared interests, such as favorite songs, books, or memories. For example, one bracelet could say "BEST," and another could say "FRIENDS," with matching hearts.
Color-Code Your Crew: Assign each friend a specific bead color to make their bracelet unique while remaining part of a cohesive set.
Gift Idea: Package the bracelets in cute Valentine’s Day pouches or small gift boxes with handwritten notes explaining the design’s significance.
4. Go Beyond the Wrist
Friendship bracelets don’t have to be limited to wrists! Use the same techniques to create other fun and functional accessories:
Anklets: Use the same beading methods but adjust the length for ankles. Perfect for summer vibes or vacations with friends.
Keychains: Attach the beaded design to a keyring or a lobster clasp to create a charming and practical accessory for backpacks, purses, or keys.
Bag Charms: Add a beaded loop to a bag strap or zipper pull for a stylish, personalized touch.
Bookmarks: Thread beads onto a longer cord and attach charms to the ends for a unique Valentine’s Day gift for book lovers.
Host a Valentine’s Day Craft Party
Turn this DIY project into a fun and unforgettable experience by hosting a Taylor Swift-inspired friendship bracelet Valentine's Day party for friends or kids!
Set the Scene: Decorate your space with a Valentine's theme, using pink and red tablecloths, heart-shaped balloons, and fairy lights.
Craft Station: Set up trays or bowls filled with beads, charms, and elastic cords to create a bead buffet. Provide tools like scissors, glue, and small containers to organize the materials.
Snacks and Drinks: Serve heart-shaped cookies, cupcakes, and chocolates, as well as festive drinks like strawberry lemonade or sparkling water with fruit.
Themed Playlist: Play Taylor Swift’s music to set the tone, featuring hits like "Love Story," "You Belong With Me," and "Shake It Off" to keep the energy upbeat.
Photo Booth: Set up a photo corner with fun props like heart-shaped sunglasses, feather boas, and signs that say "BFF Goals" or "Be Mine." Capture memories of your crafting session!
Take-Home Kits: For guests who might not finish their bracelets during the party, provide small take-home kits with beads, cord, and instructions.
Make It Meaningful
Adding these personal touches and creative twists will take your Valentine's Day beaded friendship bracelets to the next level. Whether you’re crafting for one special friend or hosting a whole gathering, these ideas will help you create beautiful bracelets and lasting memories of creativity and connection.
What do you think of these DIY bracelet ideas? Have you tried making friendship bracelets, or do you have creative tips to share? We’d love to hear about your favorite designs, techniques, or even the special messages you’d include in your bracelets! Drop your thoughts in the comments below, and let’s inspire each other to create something special for this Valentine’s Day! ❤️

Disclaimer: I am not affiliated with any person, team, or any specific products or brands mentioned in this post. All references are purely for creative inspiration and personal crafting enjoyment.